Friday, 2 November 2012

Free Play and Sharing our Creations

Today was the first day with my new class using the 'new' school iPads. I wanted to start with something simple that would combine our love of playing and sharing together.

Students 'created' something using the manipulatives in the classroom and the working together with a partner, they took a picture. Students loved to create things and then share what they had created.

Using Air Server, a projector and laptop, students were able to mirror their creations to show their classmates. We were able to mirror multiples devices at once to compare and contrast them.


I decided to keep things simple today and end there. Next class we are going to take our photos and choose our favourite to use for a writing task.


Tuesday, 30 October 2012

How to deploy school iPads


Welcome back to a new school year. I know the year is well underway, but it has taken me until now to be able to add a new post to this blog.

After a successful first year of using the iPads that the District purchased for me, I made a plea to our PAC (Parent Advisory Council) to purchase school iPads. I asked for 24 iPads, a synching/charging cart, a projector, speakers, and laptop. Our PAC is very supportive and they purchased everything I asked for!!

It has taken some time for me to determine the best way to deploy a school set of iPads that will be used by 500 students! I did a lot of research and then found myself my own 'Apple Guy' who helped me navigate the set-up.


As I found this a challenge, I have decided someone out there might as well. You might find this information helpful for your own school iPad deployment. Below I have outlined my steps.

1. Go to the iTunes store on your laptop

  • Choose an app to download to start the process
  • You will be prompted to create your apple ID
  • To create an ID you need an email
  • Create a gmail account (schoolnameiapd@gmail.com)
  • Continue the process to create an apple ID
  • Select apps to download
  • Add gift cards to the account, no credit card is necessary!


2. Plug the USB cord from the charging/synching cart into the computer you are downloading the apps to
  • Synching begins
  •  If you want you can arrange all the apps into folders on the iPad and create a ‘Master’ iPad
  • Then restore all the other iPads from the back-up
  • Name the iPads by double clicking on the name. Start with 01, 02 etc
  •  Check all the boxes to automatically synch apps to the iPad and photos and music
Settings on each iPad
  •  Turn off photo stream off
  •  Set-up the icloud account
  • Turn on Find my iPad
  • Go to restrictions and don't allow Location changes (so that if the iPad is stollen it can be located)
  • Turn off deleting apps (if deleted they are still on the iTunes account, more of a management issue)
  • Turn contacts off (contacts can be turned on and then you can add a contact list for each iPad that includes different things like Evernote accounts and their specific email addresses-division name or teacher name-that way primary students could easily email completed projects to their own Notebook on Evernote to create an eportfolio) (see older post about Evernote for more information)
  • Set-up an email on each iPad by creating gmail accounts for every 10 iPads
  •  Turn Safari off (you can turn it on if you want specific websites bookmarked for each ipad)


Note: Anything in the library of the computer you are using to download the apps will end up on the iPads


 Setting-up email on iPads
      • sign-in to the email account on each iPad
  • create a different gmail account for every 10 iPads (google    allows for up to 10 devices to use the same address at once)


Setting-up Dropbox on the iPads
  • create a school DropBox account
  • create folders for each division that teachers can use and access from anywhere
  • sign-in to the school DropBox account on every iPad

Evernote
  • teachers can create Evernote accounts that include Notebooks for each student
  • teacher can add their Evernote email address to the iPads
  • students can email completed work directly to their Notebook by writing @and their name in the Subject line of the email
  • don't leave the iPads signed-in to Evernote as each teacher will need to control the use of their own Evernote account
Mirroring

We are using the Air Server app downloaded to our school laptops to mirror iPads for student discussion, sharing work, and teaching purposes. It cost $15 for the use of Air Server on 5 devices. You need to create a PayPal account to download the program. A school projector needs to be hooked up to the laptop and then turn the program on to start to mirror the iPad.

One last note: At this point in time Canada has just create a bulk purchase program. My school District has not yet started this program. Until then, we are downloading apps and sharing them on multiple devices. Soon however, we are going to have to adjust our protocols.....


Friday, 1 June 2012

Popplet and Story Mapping


Today we decided to make a plan for the stories we are writing by using Popplet. Popplet is an app that allows the user to create webs that include words, photos from the library, photos that you take, or simple drawings that you can make right in the app. Students worked together in groups to make a plan for their stories that included the characters, setting, problem and solution. Once students had these basic ideas I encouraged them to expand their ideas to include descriptions for their characters and more details about the setting.


It is so interesting to walk around and watch students negotiate the French language trying to think of the right vocabulary word and then subsequently try to figure out how to spell it. I love to hear them all share their different spelling strategies (word wall, personal dictionary, a book in the classroom, sounding-it-out...).

Here are some Popplets:


Next week students are going to use these webs to write their stories using the Book Creator app.

Thursday, 24 May 2012

Number stories and Show Me


I used Twitter last night and my PLN (personal learning network) and asked for some ideas of how to use the iPads to create number stories. I love using the iPads as a tool for learning. I only have 6 for my class of 24 so I therefore need to get creative and always think cooperatively. My PLN rewarded me (thanks ‏@LirenmanLearns and @nikileech) with some great ideas including ;
  1. using the video or photo function to walk around the classroom and find items that represent different shapes
  2. creating number stories with manipulatives and then videotaping them
  3. use the Draw and Tell app to animate addition and subtraction problems using the stickers 
  4. use Screen Chomp to draw and tell number stories
I decided that the students were going to create number stories using the Show Me app. This app allows students to take photos, use existing photos, use photos online, or to draw. Students can then record their voices sharing the number story and solving the problem. Show Me also has an online learning community where other Show Me videos can be shared and viewed.


Once students completed their Show Mes we viewed them using our projector. We gave the presentations some feedback for next time. It was a great learning experience for all with a lot of success and some failures to learn from for next time :)
We had a few challenges. When students made a mistake with their recording we could not find a way to start again. We had to erase and start from scratch? There must be a better way....? I would love any feedback you can give me. There was a lot of learning going on as students needed to write and record at the same time. They also needed to figure out how to work together to create one Show Me. Below is a sample that I videotaped (sorry for the quality). I could not figure out how to embed the video directly from the app?? Can you?


Thursday, 17 May 2012

Videolicious and Plant Discovery

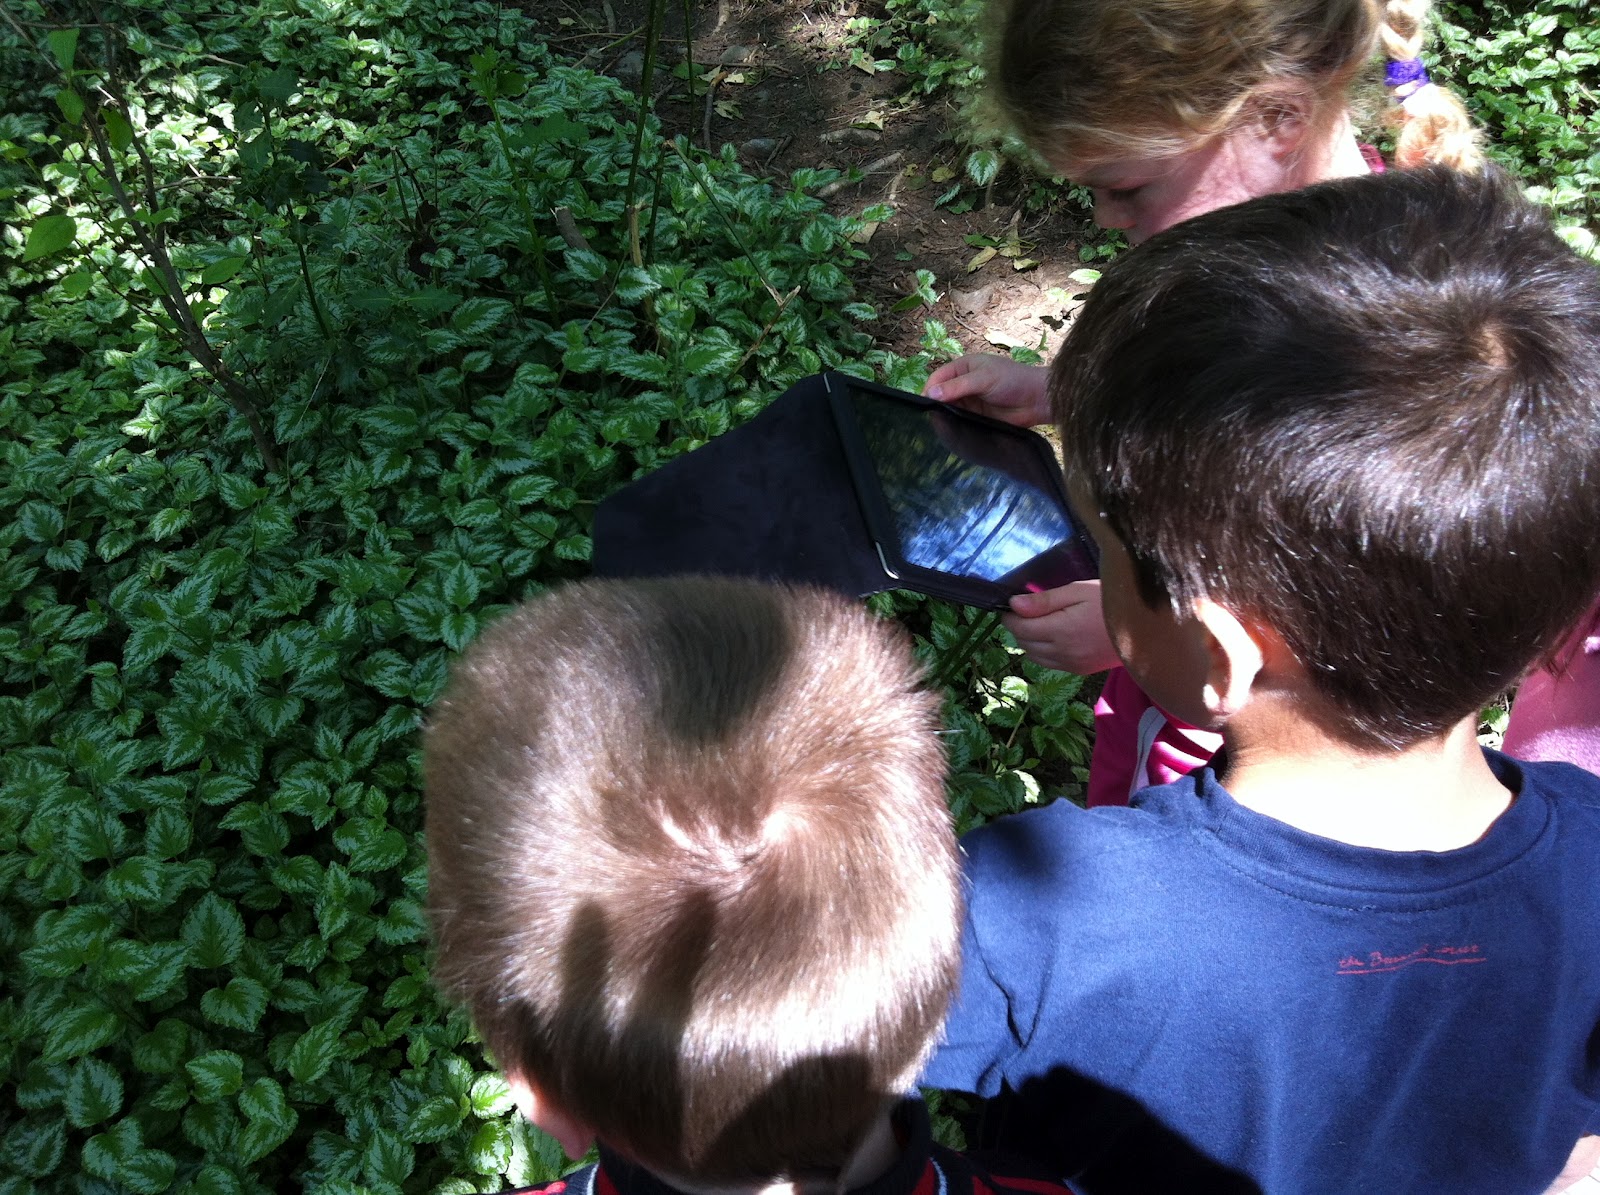
We took our iPads OUTDOORS!! Yay! We have this great forest outside our school so we decided to explore it with our iPads. Students took photos of plants, leaves, stems, and roots. They were so excited and it was so nice to be outside.


Students worked together in groups using the Videolicious app. Students recorded their voices and added music to create fun and interesting videos about plants.

Students took it upon themselves to write down the dialogue before recording. It was really interesting to see all the different skills students required to create videos collaboratively. It was amazing to watch how students decided to both speak and record videos at the same time. It was amazing to see the problem solving.

My only real issue is the background noise. It is really hard to record audio in a classroom because you end up with a lot of voices :(


Free play


Students have free play time everyday. I think this time is critical for early primary students. Today, one student took it upon herself to make some houses out of wood. Then she took pictures of them and labelled them. Here is her work:


I can't tell you how excited I was to see a student using the iPads and creating her own activity. It was neat to see her making a connection between some of the things we have been doing and her own ideas.

Plants, Skitch, and Book Creator


We have been studying plants for the past few weeks. Today I decided that the students would demonstrate their leaning by using Skitch and Book Creator. Students worked in groups of four and were asked to do one of four things. They were assigned; the needs of a plant, the parts of a plant, or the life cycle of a bean. Students used Skitch to either draw or take photos. Students labelled the parts of their drawings and then saved them. Once saved, students opened Book Creator and began to create a book with their drawings and labels. Students also took turns recording their voices and sharing their information.

Skitch is great because it is compatible with Evernote so the work can be saved a student's notebook (eportfolio). This is helpful when iPads are shared with other classes. You don't need to worry if another student deletes or changes the work. I like Book Creator because not only can you open the book in epub form you can also email the book as a pdf.

Here are some screenshot examples of picture drawn or photos taken and labelled using Skitch.


My students used these in Book Creator to write and record their own book. Below are some screenshots of the pages of one book. You can see the audio symbol where the students recorded their voices. Unfortunately, you can't hear the recordings because these are just screenshots.


Now I need to learn how to insert a pdf into this blog??? Ideass? Suggestions?? Still new to this blogging thing :)